Beginner-Friendly: Tape-In Extensions at Home — What You Should Know Before You Try
Tape-in extensions can look surprisingly simple.
Section the hair, remove the backing, sandwich your natural hair between two extension tabs, press them together—and you're done.
Right?
Not exactly.
Tape-ins may be one of the easier extension methods to understand visually, but getting a comfortable, natural-looking installation requires more than sticking two pieces of hair together.
If you're thinking about trying tape-in extensions at home for the first time, here's what you should know before you start.
What Are Tape-In Extensions?
Tape-ins are thin wefts of extension hair with adhesive tabs at the top.
During installation, a small section of your natural hair is typically placed between two tape-in pieces, creating a “sandwich.”
When they're properly placed, tape-ins can lay relatively flat against the head and give you added length and fullness without the bulk of some other extension methods.
They're also reusable in many cases, with professional removal, cleaning, retaping, and reinstallation depending on the hair and system you're using.
1. Start With Clean Hair
Your installation begins with your shampoo.
Oils, heavy conditioners, serums, and product buildup around the root area can interfere with the adhesive.
Before installing tape-ins, your hair should be thoroughly cleansed and completely dry.
Avoid applying oils or heavy styling products near the areas where the tape will be installed.
You want a clean foundation before the adhesive ever touches your hair.
2. Section Size Is More Important Than You Think
One of the biggest beginner mistakes is putting too much—or too little—natural hair between the tape tabs.
Too much hair can prevent the adhesive pieces from connecting properly.
Too little hair may leave an insufficient amount of natural hair supporting the weight of the extension.
The section should be clean, controlled, and appropriate for the size of the tape you're installing.
This is one area where professional judgment makes a significant difference.
3. Don't Install Tape-Ins Directly Against Your Scalp
Closer isn't automatically better.
Tape-ins need enough room to move naturally with your hair.
Installing them too close to the scalp can create pulling, discomfort, or difficulty when you move and style your hair.
Placement should feel comfortable.
If your extensions immediately feel tight, painful, or like they're pulling your scalp, don't assume you simply need to “get used to it.”
4. Placement Determines Whether They Stay Hidden
Before installing, think about how you normally wear your hair.
Do you wear:
A middle part?
A side part?
High ponytails?
Half-up styles?
Tape-ins placed too close to your hairline, part, or other visible areas may become exposed when you style your hair.
A good installation isn't just about attaching extensions.
It's about placing them where they'll remain discreet during everyday styling.
5. Don't Keep Repositioning the Tape
Measure and plan before you attach.
Once the adhesive has made contact, repeatedly pulling the pieces apart and repositioning them can affect how well they hold.
Before pressing everything together, check:
Your section
Your placement
Your distance from the scalp
Whether surrounding hair will cover the tape
Take your time.
Precision matters more than speed.
6. Blending Happens After Installation
Installing the extensions is only part of the process.
Your natural hair and extension hair still need to become one finished shape.
That may require:
Layering
Face framing
Removing excess weight
Styling
Texture blending
This is why extensions can technically be installed correctly and still look obvious.
The haircut and finish matter.
7. Your At-Home Care Can Affect How Well They Last
Once your tape-ins are installed, be mindful of what you're putting around the adhesive.
Keep oils, heavy conditioners, and masks away from the tape tabs unless the manufacturer of your particular system instructs otherwise.
When washing:
Clean your scalp carefully
Avoid aggressive scrubbing around the tabs
Condition primarily through your mid-lengths and ends
Dry your roots and attachment areas thoroughly
When brushing, support your hair and work gently around the tapes rather than pulling directly against them.
8. Don't Try to Keep Them Installed Forever
Your natural hair continues growing while you're wearing tape-ins.
As it grows, the tabs move farther away from your scalp.
Eventually, they need to be professionally removed and repositioned.
Trying to stretch an installation far beyond its recommended maintenance period can make the extensions harder to manage and increase tangling around the grown-out attachment areas.
Follow the maintenance schedule recommended for your particular tape-in system and your natural hair.
9. Removal Is Just as Important as Installation
Please don't simply pull tape-ins out.
Proper removal usually requires a remover designed for the adhesive system you're wearing.
Trying to peel extensions away from your natural hair without properly breaking down the adhesive can create unnecessary pulling and potential breakage.
If you're unsure how to remove them safely, this is a good point to see a professional.
Should Beginners Install Tape-Ins at Home?
You can learn a lot by understanding how tape-ins work, but DIY installation isn't the right choice for everyone.
Consider seeing a professional if you have:
Very fine or fragile hair
Existing breakage
Significant thinning
Difficulty seeing or sectioning the back of your head
An active or irritated scalp condition
Uncertainty about how much extension weight your hair can support
A professional consultation can help determine whether tape-ins are even the right method before you invest in the hair.
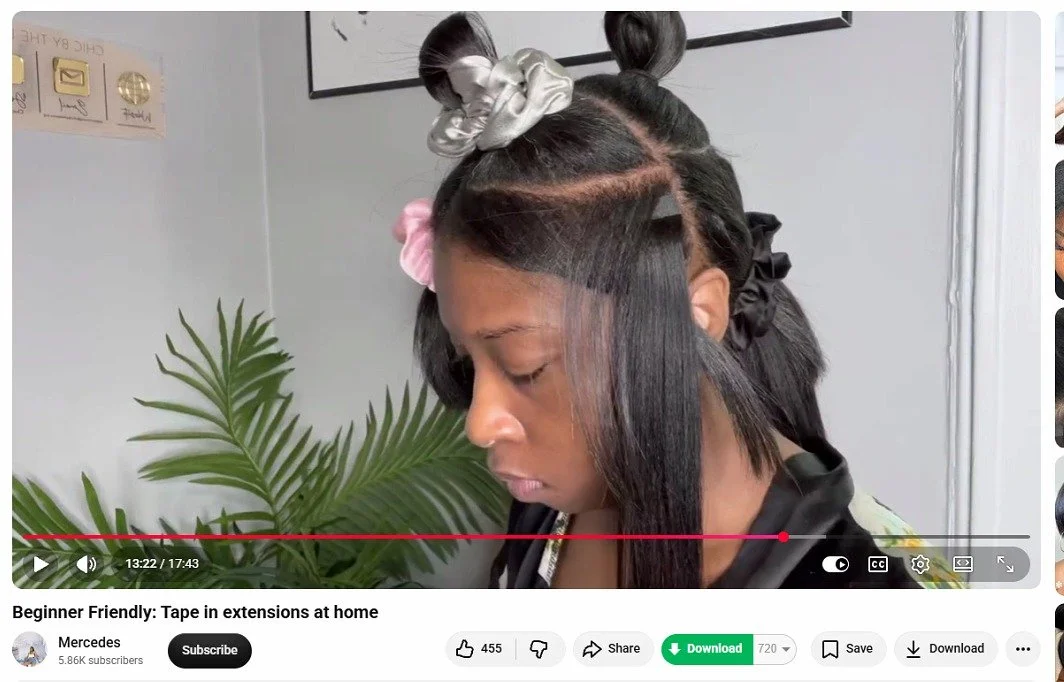
Watch the Tape-In Tutorial
If you'd like to see the installation process in action, I've also created a beginner-friendly YouTube tutorial where you can follow along visually.
→Watch: Beginner-Friendly Tape-In Extensions at Home Tutorial →
Final Thoughts
Tape-ins may look simple, but the difference between extensions that merely stick and extensions that are properly installed comes down to preparation, placement, section size, tension, and blending.
If you're learning at home, take your time and pay attention to what your natural hair can comfortably support.
And if something feels painful, excessively tight, or simply doesn't look right, don't force it.
Extensions should enhance your hair—not make maintaining it harder.
If you’re ready to stop guessing and start working with structure, education paired with the right service plan makes all the difference.
